
Introduction
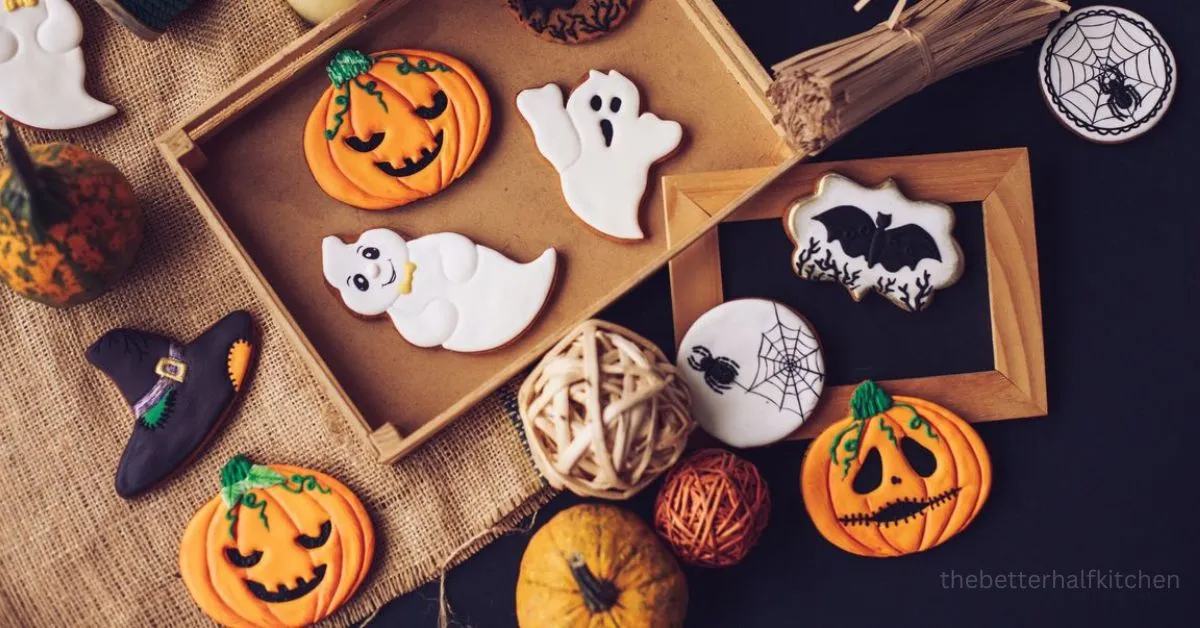
Individually wrapped Halloween cookies are the perfect combination of spooky and sweet, making them perfect for parties, trick-or-treating, and gift-giving. Halloween is a time for ghouls, ghosts, and delicious treats.
You will find all the tips and tricks you need to create the best individually wrapped Halloween cookies in this article, including a detailed recipe and a detailed recipe.
Why You’ll Love Individually Wrapping Halloween Cookies
Using this recipe, you can create individually wrapped Halloween cookies.
You’ll love making and sharing these hauntingly delicious treats for the following reasons:
Creativity Unleashed:
You can express your creativity with this recipe.
Your cookies can be customized with different shapes, colors, and designs, making each one unique.
Family Fun:
Baking these cookies is a great activity for families and friends.
Making delicious memories while spending quality time together is a wonderful way to spend time together.
Perfect Party Treats:
They’re perfect for Halloween parties, whether you’re hosting one or attending one.
They’re not only delicious but also make fantastic party favors.
Gift-Worthy:
These cookies are ideal for gifting since they are individually wrapped.
With these personalized, homemade treats, you can spread the Halloween spirit to friends, family, and colleagues.
Spooky Decorations:
The decorating process allows you to unleash your inner artist.
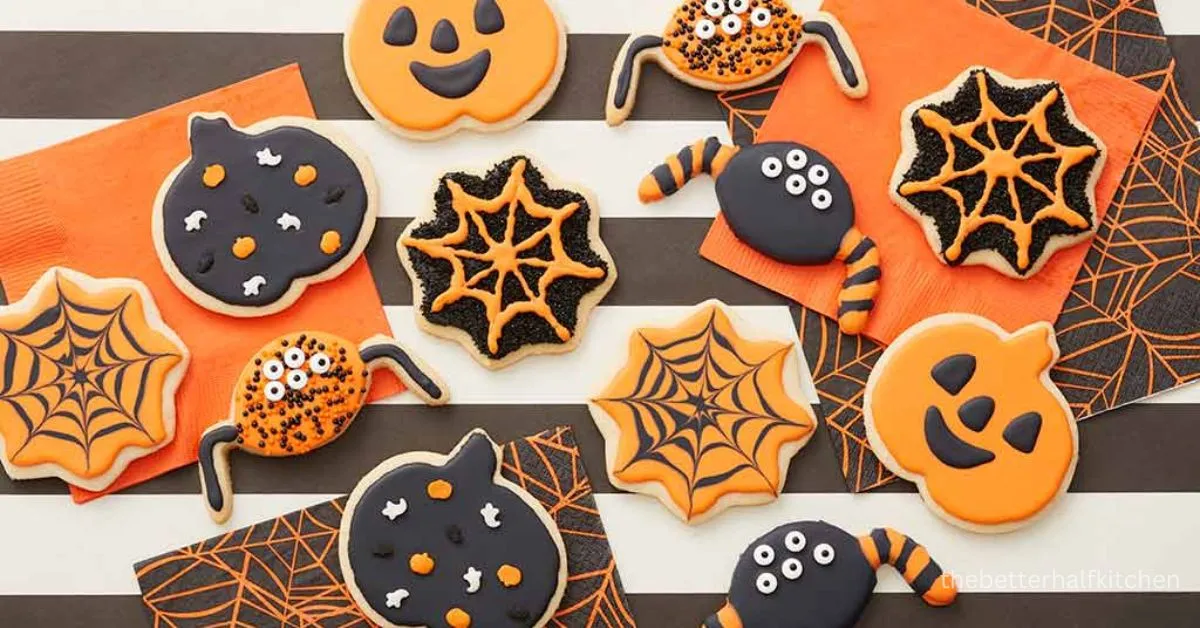
From cute pumpkins to eerie ghosts, you can turn your cookies into spooky works of art.
Delicious Flavor:
Cookies made with buttery cookie dough and sweet royal icing taste fantastic as well as look great.
Versatile Shapes:
You can make a variety of Halloween-themed shapes with Halloween cookie cutters.
There are endless options when it comes to Halloween décor – bats, witches, pumpkins, and more.
Memorable Packaging:
Adding creative and spooky packaging to your cookies adds an extra layer of charm.
Not only are these cookies tasty, but they’re also eye-catching.
Easy to Store:
It is possible to store these cookies for an extended period if they are properly stored.
You can bake them ahead of time and enjoy Halloween without stress.
Share the Halloween Spirit:
Whether you’re gifting or serving these cookies at your own Halloween gathering, these cookies are a fun way to share the holiday’s excitement.
How to Make Individually Wrapping Halloween Cookies
Ingredients You’ll Need
For Cookie Dough:
-
All-purpose flour
-
Baking powder
-
Salt
-
Unsalted butter (at room temperature)
-
Granulated sugar
-
Egg
-
Pure vanilla extract
For Decorating:
-
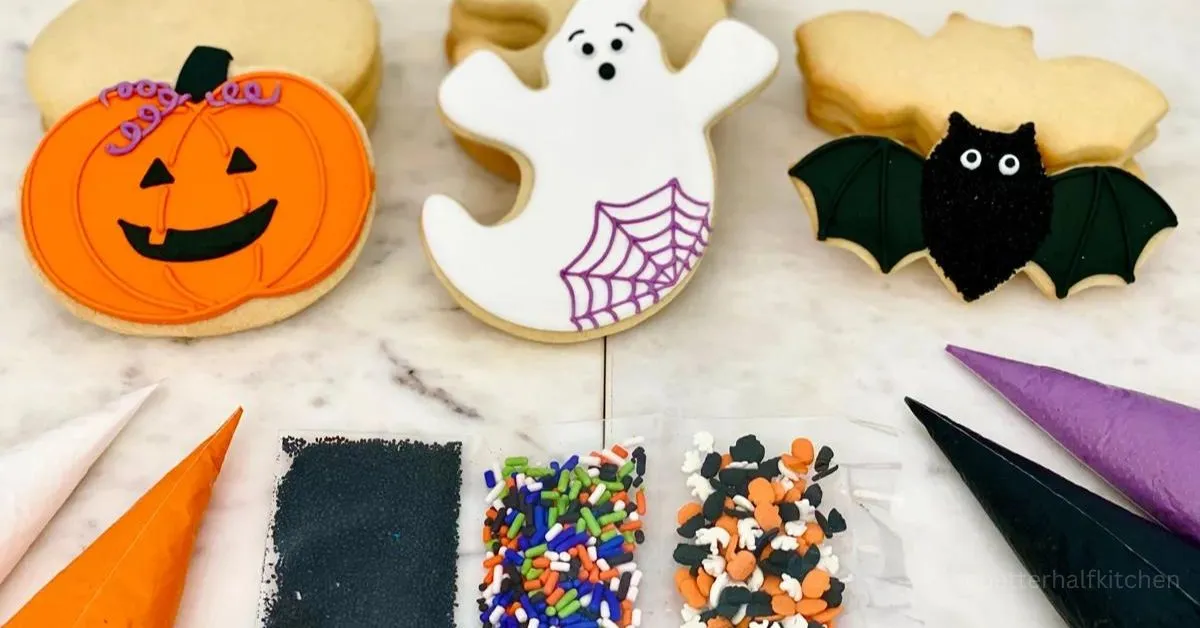
Royal icing in Halloween-themed colors (e.g., orange, black, purple, and green)
-
Edible markers
-
Halloween-shaped cookie cutters (ghosts, pumpkins, witches, etc.)
-
Assorted Halloween-themed sprinkles and edible decorations
Instructions
Prepare Your Dough:
- Add the baking powder, salt, and flour to a mixing bowl and stir to combine.
- Separately, beat the butter and sugar until light and fluffy. It should take about 2-3 minutes to complete this.
- The butter-sugar mixture should be well combined before adding the egg and vanilla extract.
- Mix the dry ingredients gradually into the wet mixture until the dough comes together.
Chill the Dough:
- Make two discs from the dough by dividing it into two equal parts.
- Refrigerate the discs for at least one hour after wrapping them in plastic wrap. Rolling and cutting the dough is easier when it is chilled.
Roll and Cut the Cookies:
- Prepare your baking sheets by lining them with parchment paper and preheating your oven to 350°F (175°C).
- On a lightly floured surface, roll out one of the dough discs to about 1/4 inch thick.
- Halloween-themed cookie cutters can be used to cut out spooky shapes.
- To allow for expansion during baking, transfer the cut cookies to the baking sheets.
Bake to Perfection:
- Once the oven is preheated, bake the cookies for 10-12 minutes or until the edges are lightly golden.
- Let the cookies cool for a few minutes on the baking sheets after they have been removed from the oven.
- Cool the cookies completely on a wire rack.
Decorate the Individually Wrapped Halloween Cookies:
- Decorate the cookies once they have cooled completely.
- Decorate your cookies with royal icing by piping, flooding, and creating intricate designs.
- Decorate with Halloween-themed sprinkles and edible markers.
- Before packaging your cookies, let the icing set and dry completely.
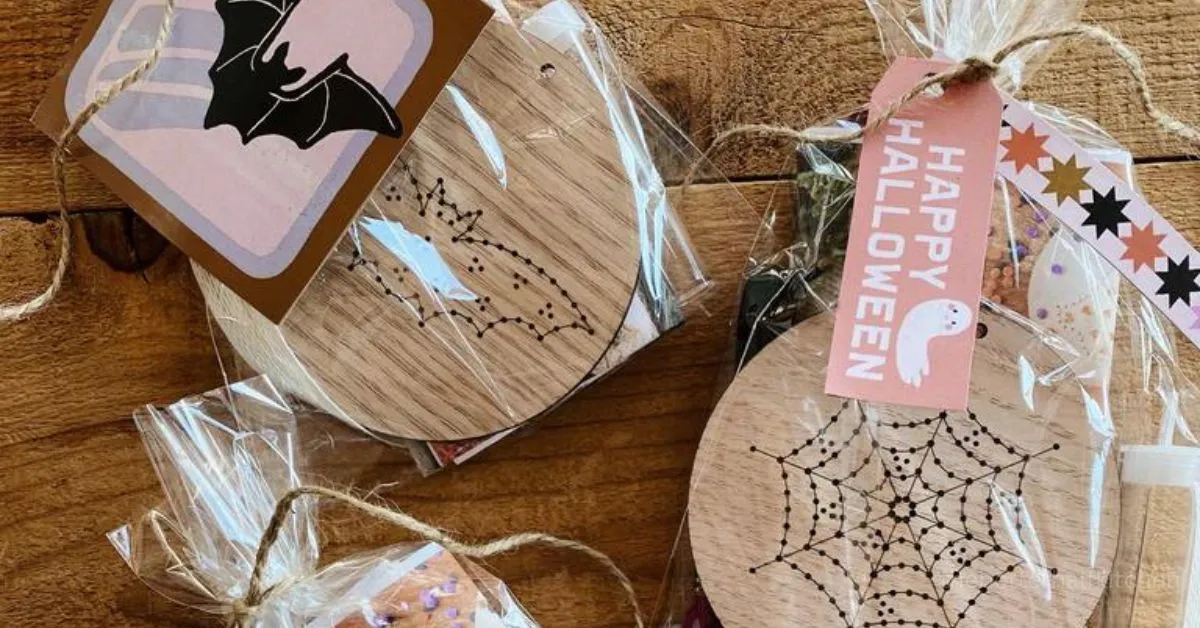
Packaging and Presentation
To make your individually wrapped Halloween cookies truly stand out:
- To display your cookies, use clear cellophane bags or decorative boxes.
- Add spooky tags, ribbons, and labels to each package.
- Make it even more eerie by adding a touch of fake spiderweb.
Safety and Hygiene
Don’t forget the importance of safety and hygiene:
- Ensure that the kitchen environment is clean.
- Handle food properly, wash your hands, and sanitize your equipment.
Tips for Storing Individually Wrapped Halloween Cookies
To keep your cookies fresh and delicious:
- To prevent moisture and air exposure, store in an airtight container.
- To absorb excess moisture, place a piece of bread or a silica gel packet in the container.
- Keep away from direct sunlight in a cool, dry place.
Conclusion
Individually wrapping Halloween cookies is a delightful and creative endeavor. The possibilities are endless, from selecting quality ingredients to spooky decorating and packaging.
You’ll be able to delight friends, family, or customers with these Spooktacular treats.
Don’t forget to enjoy the experience as much as the cookies. Enjoy every moment of crafting these hauntingly delicious treats, and embrace the Halloween spirit.
Let your creativity shine as you craft these individually wrapped Halloween cookies. Have a wonderful Halloween baking season!

Individually Wrapped Halloween Cookies Recipe
Ingredients
For Cookie Dough:
- 2-1/4 cup all-purpose flour
- ½ tsp. baking powder
- ¼ tsp. salt
- 1 cup unsalted butter (at room temperature)
- 1 cup granulated sugar
- 1 large egg
- 1 tsp. pure vanilla extract
For Decorating:
- Royal icing in Halloween-themed colors (e.g., orange, black, purple, and green)
- Edible markers
- Halloween-shaped cookie cutters (ghosts, pumpkins, witches, etc.)
- Assorted Halloween-themed sprinkles and edible decorations
Instructions
- Add the baking powder, salt, and flour to a mixing bowl and stir to combine.
- Separately, beat the butter and sugar until light and fluffy. It should take about 2-3 minutes to complete this.
- The butter-sugar mixture should be well combined before adding the egg and vanilla extract.
- Mix the dry ingredients gradually into the wet mixture until the dough comes together.
- Make two discs out of the dough by dividing it into two equal parts.
- Refrigerate the discs for at least one hour after wrapping them in plastic wrap. Rolling and cutting the dough is easier when it is chilled.
- Prepare your baking sheets by lining them with parchment paper and preheat your oven to 350°F (175°C).
- On a lightly floured surface, roll out one of the dough discs to about 1/4 inch thick.
- Halloween-themed cookie cutters can be used to cut out spooky shapes.
- To allow for expansion during baking, transfer the cut cookies to the baking sheets.
- Once the oven is preheated, bake the cookies for 10-12 minutes or until the edges are lightly golden.
- Let the cookies cool for a few minutes on the baking sheets after they have been removed from the oven.
- Cool the cookies completely on a wire rack. Decorate the cookies once they have cooled completely.
- Decorate your cookies with royal icing by piping, flooding, and creating intricate designs.
- Decorate with Halloween-themed sprinkles and edible markers.
- Before packaging your cookies, let the icing set and dry completely.
- Enjoy! Individually wrapped Halloween cookies