
Introduction
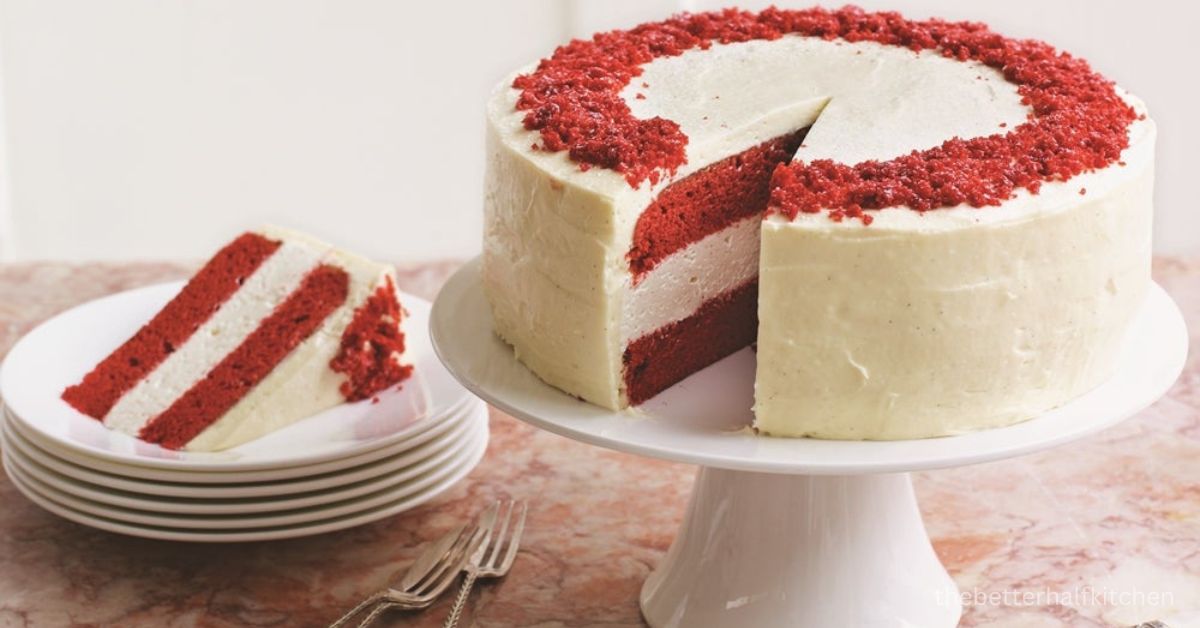
A Red Velvet Ice Cream Cake stands out from the crowd when enjoying tempting foods. It is an appealing sweetness for any occasion thanks to the ideal combination of layers of smooth, creamy ice cream and rich, moist red velvet cake.
The magical world of Red Velvet Ice Cream Cake will be explored in this article. This will include its history, ingredients, preparation technique, and the reasons why it exceeds dessert fans’ expectations. So let’s explore the luscious world of this delicious delicacy!
History of Red Velvet Cake
Red Velvet Cake originated in the early 1900s, with cocoa powder. The cake’s unique bright red color, brought on by the unusual blend of buttermilk, vinegar, and cocoa powder, quickly became its defining characteristic.
An initial chemical reaction between the acidic chemicals and cocoa enhanced the deep red color. To achieve the vivid red hue, food coloring is commonly used.
The Evolution of Ice Cream Cakes
Ice cream cakes date back to the 19th century. But it wasn’t until the 1950s that they became well-known as a delicious and refreshing frozen dessert.
Cake and ice cream together was a dessert combination made in heaven, and it quickly gained popularity for birthdays, celebrations, and other special occasions.
Red Velvet Ice Cream Cake: A Perfect Fusion
Red Velvet Ice Cream Cake came about due to the brilliant idea to combine red velvet cake’s velvety richness with the creaminess of ice cream. Each bite contains a delicious symphony of aromas and sensations due to the contrasting textures of the moist cake and the chilled ice cream.
You can make it with cake mix and store-bought ice cream. However, here I’m gonna share my authentic red velvet cake recipe and store-bought vanilla ice cream for red velvet ice cream cake. Since then, people have made this delicious dessert at parties and as a special treat for themselves.
Step-by-Step Red Velvet Cake Preparation
Preparing the Dry Ingredients:
- Preheat your oven to 350°F (175°C). Grease and flour two 9-inch round cake pans.
- In a large mixing bowl, combine all-purpose flour, sugar, baking powder, baking soda, cocoa powder, and salt.
- To ensure dry ingredients are distributed evenly, thoroughly mix.
Mixing the Wet Ingredients:
- Whisk the eggs in a another bowl until they are well beaten.
- The eggs should be combined with the vegetable oil, buttermilk, and pure vanilla essence.
- Combine all of the wet ingredients completely in the mixing bowl.
Combining the Wet and Dry Ingredients:
- Pour the wet ingredients in small batches into the dry ingredients’ bowl.
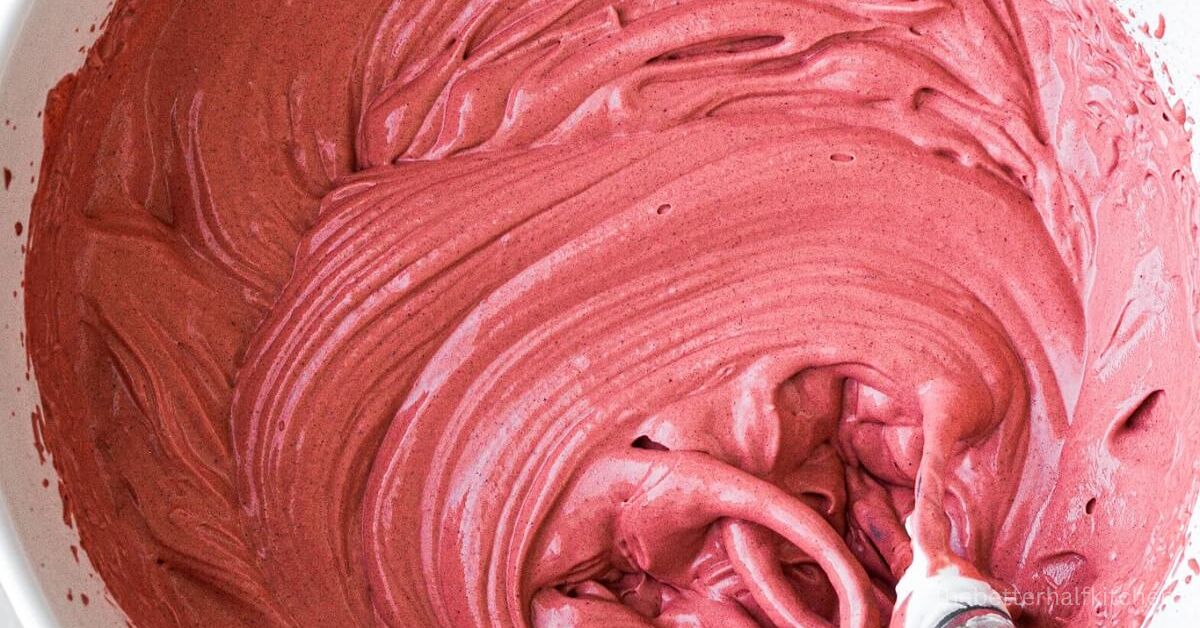
- Combine the wet and dry ingredients with a spatula or a low-speed electric mixer until a smooth batter forms.
Adding the Red Hue:
- Adjust the amount of red food coloring you add to the batter to get the shade of red you want.
- Add the white vinegar to the batter and mix until it is fully incorporated.
Baking the Red Velvet Cake
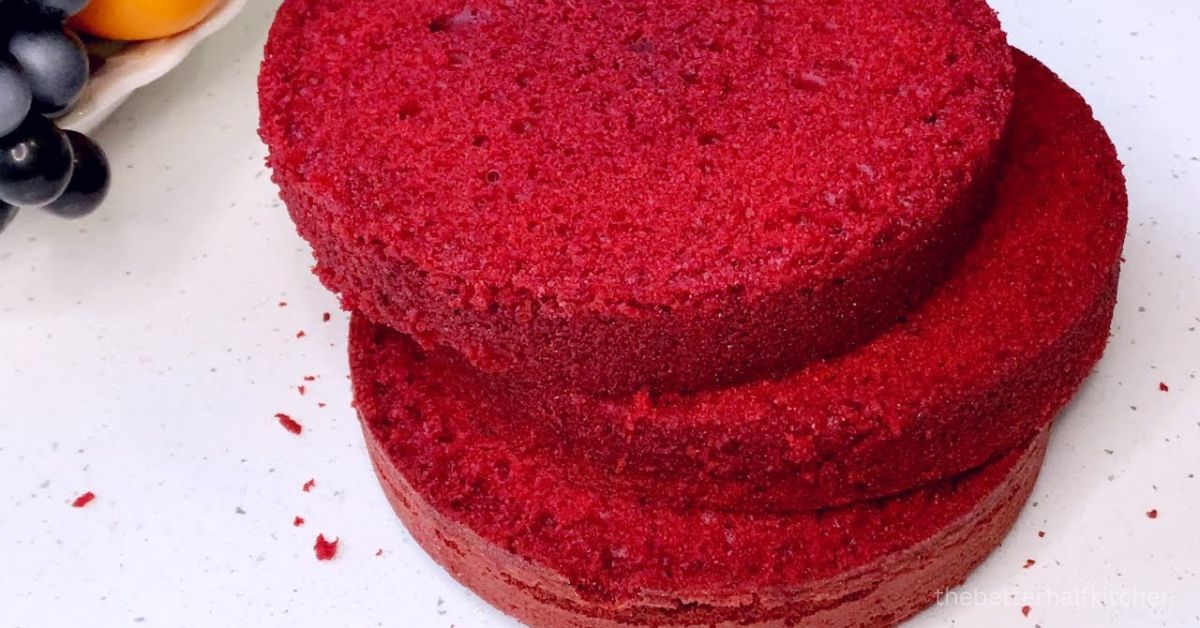
- The batter should be divided evenly between the prepared cake pans.
- You should bake the cakes for approximately 25 to 30 minutes in the preheated oven, or until a toothpick inserted into the center comes out clean.
- The cakes should be taken out of the oven and allowed to cool in the pans for roughly 10 minutes before being moved to a wire rack to complete cooling.
Making the Ice Cream Filling
- The vanilla ice cream should be removed from the freezer and allowed to soften.
- Beat the softened ice cream in a mixing bowl until smooth and creamy.
- Cream cheese and powdered sugar should be thoroughly mixed in a separate bowl.
- Once the ice cream softens, gently fold in the cream cheese mixture.
- To add authentic flavor, crumble some red velvet cake into fine crumbs and combine it with the ice cream base.
- Plastic wrap should be used to line two 9-inch round cake pans, with enough overhang for removal.
- Scoop the softened ice cream into each cake pan and spread it evenly.
- It is suggested to freeze ice cream for at least an hour, or until it is firm.
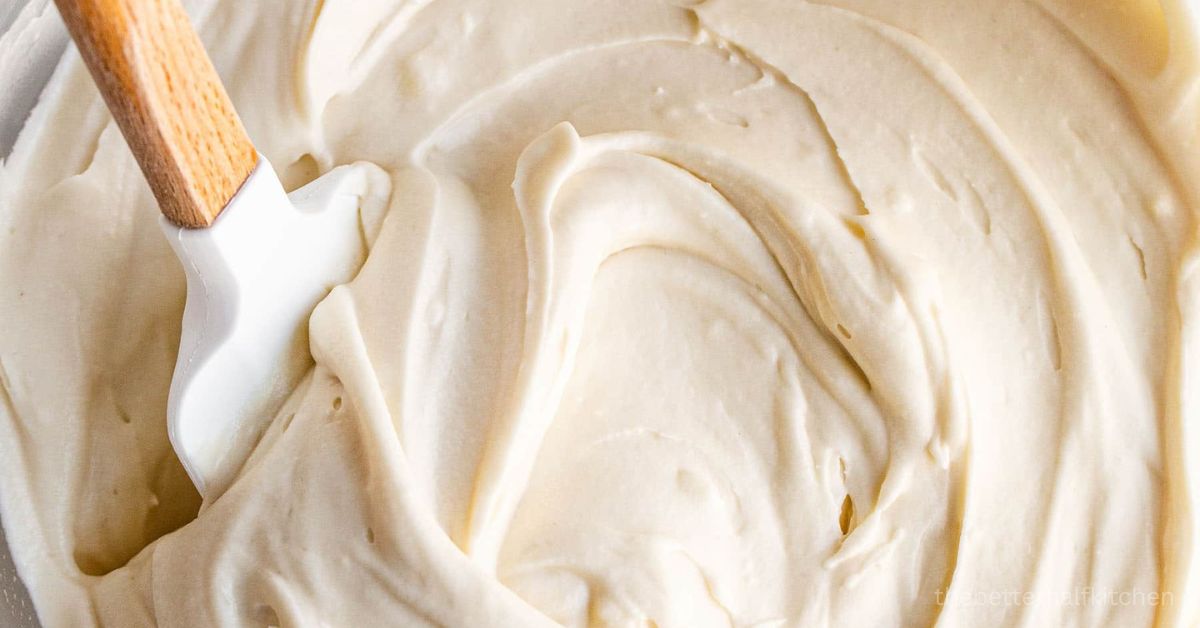
Cream Cheese Frosting: The Perfect Pairing
Creamy and tangy cream cheese icing complements red velvet cakes. What you’ll need to create the icing is:
- Cream cheese and butter should be whipped together until smooth in a mixing bowl.
- Add the powdered sugar and vanilla extract gradually while mixing the frosting until it is frothy and light.
- After the cakes have cooled, generously frost the top of one cake layer, place the second layer on top, and frost the entire cake.
Assembling the Red Velvet Ice Cream Cake
Here are 2 ways of assembling an ice cream cake. I use the second one because it is amazing, but you can use any of them.
1st Option:
- On a serving dish or cake stand, place one of the red velvet cake layers that has cooled.
- On top of the cake layer, spread a thick layer of the prepared ice cream filling.
- In the top layer of the ice cream, place the second cake layer.
- Wrap plastic wrap around the whole cake and freeze it for at least 4 hours, or until solid.
2nd Option:
- Two 9-inch round cake pans should be lined with plastic wrap, allowing some overhang for easy removal.
- Create an even layer in each of the cake pans by scooping the softened ice cream into them.
- Ice cream should be frozen for at least one hour or until it is hard.
Decorating the Cake
- Apply a generous layer of cream cheese frosting to the assembled cake with a spatula or spoon.
- You can garnish the dish with a lot of blueberries’ on top to add flavor and texture, and enhance the visual appeal.
Tips and Tricks for Perfection
- Use gel-based food coloring instead of liquid food coloring for a deeper hue of red.
- To make the cake layers even more moist, brush them with a simple syrup before assembling the cake.
- To make different variations of this cake, try experimenting with various ice cream flavor.
Why Red Velvet Ice Cream Cake is Irresistible
The lovely combination of flavors and textures is what gives Red Velvet Ice Cream Cake its unique appeal. It is a very indulgent dessert because the richness of the red velvet cake pairs well with the creaminess of the ice cream filling. The cake is a show-stopper at any event because to its colorful appearance, which enhances its allure.
Variations to Explore
While the classic Red Velvet Ice Cream Cake is a delight on its own, you can get creative and try various flavor combinations. Some popular variations include:
- Mint Chocolate Chip Ice Cream Cake
- Cookies and Cream Ice Cream Cake
- Strawberry Cheesecake Ice Cream Cake
- Red Velvet Brownie Sundae
Serving and Presentation
- To serve the Red Velvet Ice Cream Cake, take it out of the freezer a few minutes before slicing to ensure easy cutting.
- To enhance the look and taste, garnish with blueberries.
-
For elegance, decorate the slices with chocolate shavings or a drizzle of chocolate sauce or cake crumbs (optional).
Storage and Shelf Life
The Red Velvet Ice Cream Cake should be kept in the freezer if there are leftovers (which rarely happens). Although it can be stored for up to a week, for maximum freshness and flavor, it should be enjoyed as soon as possible.
Conclusion
The Red Velvet Ice Cream Cake, in conclusion, is a divine treat that combines the silky allure of red velvet cake with ice cream creaminess. It is a crowd-pleasing treat for any event thanks to its vibrant taste, attractive appearance, and delicious taste.
So why not indulge in this delicious delicacy for yourself and your loved ones? To make a homemade Red Velvet Ice Cream Cake, gather the ingredients, follow the easy instructions, and enjoy the sweetness.
People also like:
Homemade Roasted Peach Ice Cream

Red Velvet Ice Cream Cake Recipe
Ingredients
For the Red Velvet Cake
- 2-1/2 cup all-purpose flour
- ½ cup granulated sugar
- 2 tbsp. cocoa powder
- 1 tsp. baking powder
- 1 tsp. baking soda
- 1 tsp. salt
- ½ cup vegetable oil
- 1 cup buttermilk
- 2 large eggs
- 2 tbsp. red food coloring
- 1 tsp. vanilla extract
- 1 tsp. white vinegar
For the Ice Cream
- 2 pints vanilla ice cream flavor
- 4 ounce cream cheese
- 4 tbsp. sugar
Cheese Cream Frosting
- 8 ounce cream cheese, softened
- ½ cup unsalted butter, softened
- 2 cups powdered sugar, sifted
- 1 tsp. vanilla extract
Instructions
Making the Red Velvet Cake
- Prepare two 9-inch round cake pans by preheating your oven to 350°F (175°C).
- Mix the flour, sugar, baking soda, baking powder, cocoa powder, and salt in a large mixing bowl.
- The vegetable oil, buttermilk, eggs, red food coloring, vanilla extract, and white vinegar should all be thoroughly combined in a separate bowl.
- Until you have a smooth batter, gradually combine the wet ingredients with the dry ones.
- In the prepared cake pans, pour the batter equally.
- The cake should be baked for 25 to 30 minutes, or until a toothpick inserted in the center comes out clean.
- After the cakes have cooled completely, you can move on to the next step.
Mixing Ice Cream and Cream Cheese for Base
- Take the ice cream out of the freezer to slightly soften while the cakes are cooling.
- Softened vanilla ice cream should be beaten until smooth and creamy in a mixing bowl.
- Cream cheese and powdered sugar should be thoroughly mixed in a separate bowl.
- Adding the cream cheese mixture once the ice cream has softened is the next step.
- Make ice cream base by crumbling some red velvet cake into fine crumbs and mixing them with it.
- This will give the ice cream a delicious texture and an authentic red velvet taste.
- Two 9-inch round cake pans should be lined with plastic wrap, allowing some overhang for easy removal.
- Create an even layer in each of the cake pans by scooping the softened ice cream into them.
- Ice cream should be frozen for at least one hour or until it is hard.
- Before continuing to the next step, allow the cakes to cool fully.
Preparing Cream Cheese Frosting for Topping
- Make sure cream cheese and butter are room temperature before blending.
- Cream cheese and unsalted butter should be mixed together on medium speed in a large mixing bowl. Beat until creamy and well combined.
- Add the sifted powdered sugar to the creamed mixture. Start on low speed, then increase to medium speed.
- Keep beating until the frosting becomes light and fluffy.
- Pour in the pure vanilla extract and beat the frosting on low speed until the extract is fully incorporated.
- Put the frosting in an airtight container or cover with plastic wrap.
- Make sure the frosting is chilled for at least 30 minutes before using. Firming up the frosting will make it easier to spread.
- Frosting can be applied once it has chilled. On your layered red velvet ice cream cake, generously spread or pipe the frosting.
Assembling the Cake
- Once the cakes and ice cream are completely cooled and firm, remove them from their respective pans.
- On a serving plate or cake stand, place one layer of the red velvet cake.
- Remove the plastic wrap from one of the ice cream rounds.
- Put the ice cream disc gently on top of the cake layer.
- Create a cake-ice-cake-ice-cream layering sequence by repeating this process with the remaining cake and ice cream layers.
- Spread a generous layer of cream cheese frosting over the assembled cake using a spatula or spoon.
- On top of red velvet ice cream cake, garnish with chocolate shavings or a drizzle of chocolate sauce or cake crumbs (optional).
- Enjoy! Red velvet ice cream cake